Navigation: Admin > Learning
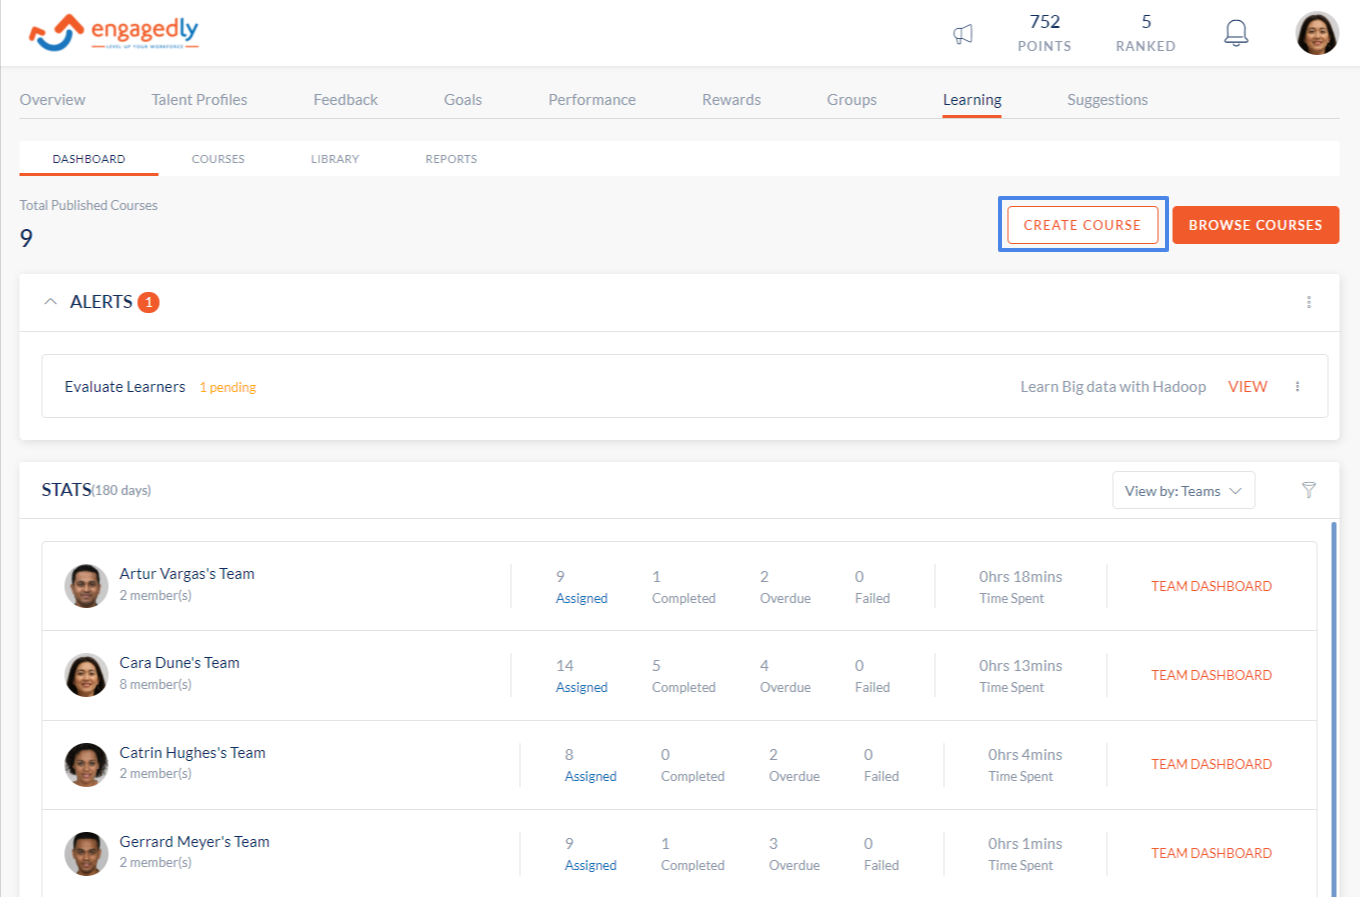
- Click the Courses tab.
- Click the Create Course button in the top right corner of the page.
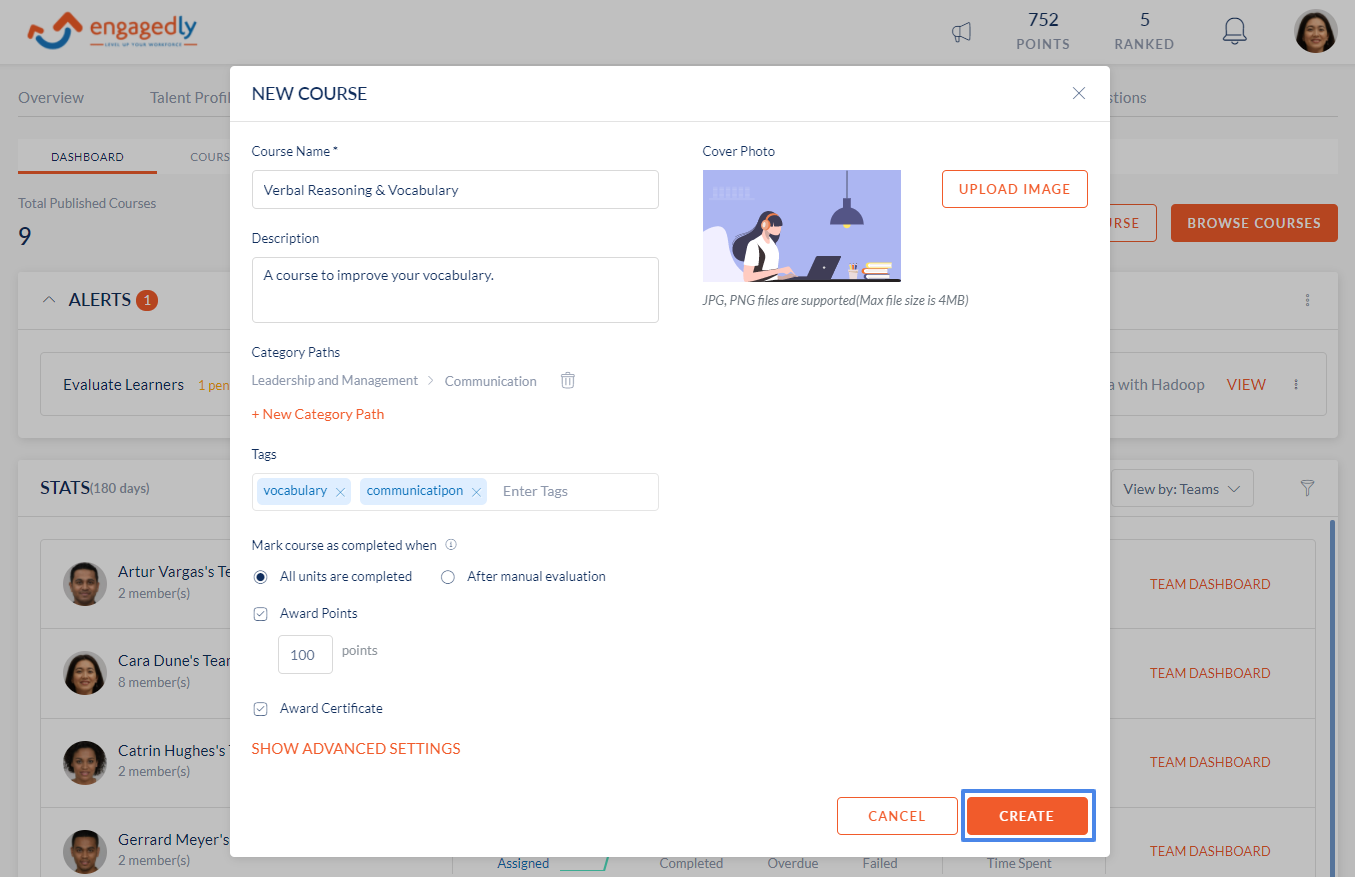
- Enter the course name.
- Enter the course description.
- You can select the category path for the course.
- Enter an appropriate tag for your course.
- You can select when you want courses to be marked as completed. You can toggle between:
- All units are completed - This will mark the course as completed when the user has marked all the units as completed.
- After manual evaluation - This will mark the course as completed only when the author/ co-author of the course has manually evaluated the units and marked them as complete.
- Award points for the course when it's completed by checking the award points checkbox.
- Give a certificate for course completion by checking the award certificate checkbox.
- Advanced settings:
- Competencies - you can search and add already existing competencies to your course.
- Co-Authors - They have the same permissions as an author and can perform actions like editing and evaluating a course.
- Course Language - You can select which language your course is in so that learners have better visibility when registering for a course.
- View units sequentially on marked complete - Select this checkbox if you want to make the learner go sequentially through the units in your course and prevent them from skipping any units.
- Enable course review - select this checkbox if you want the learners to rate and leave reviews on your course.
- You can add a cover photo to your course by clicking the upload image button at the top right.
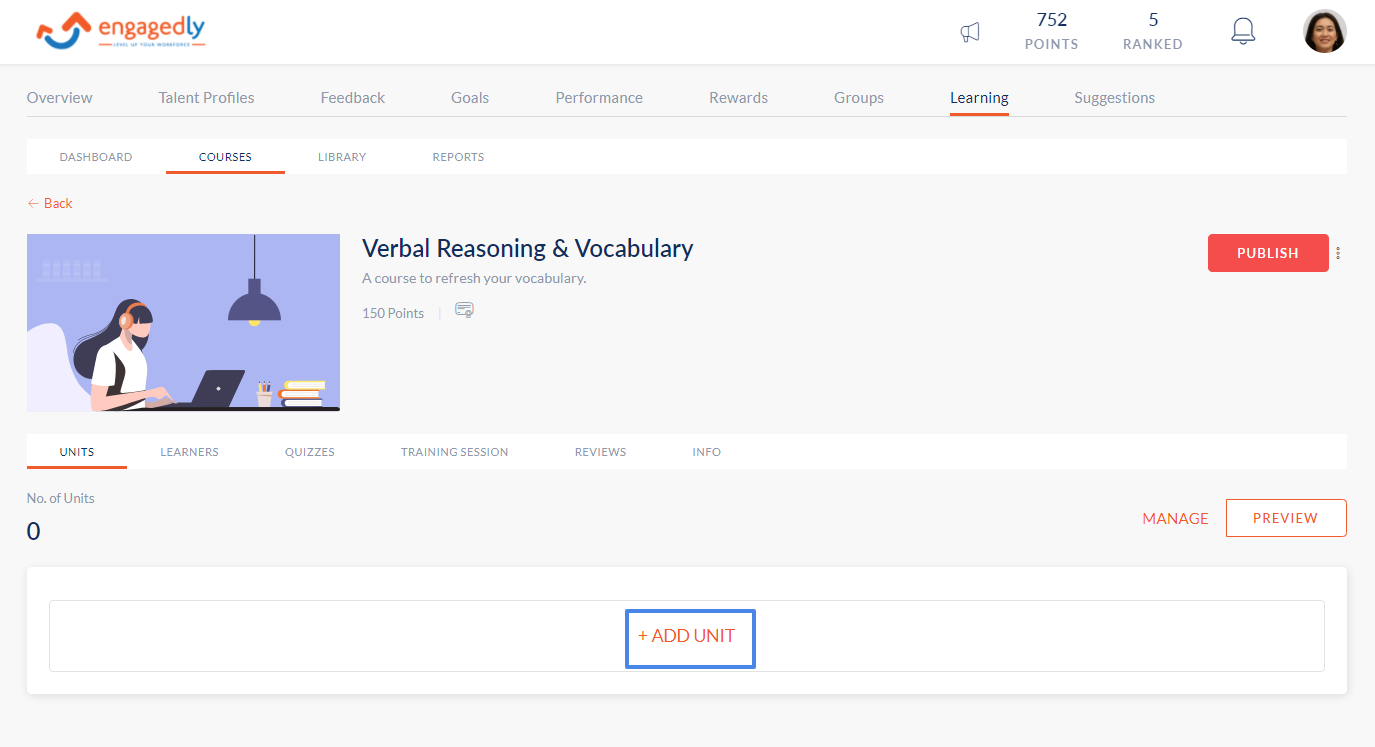
- Click the Create button to save the created course and move to the next page of adding units to your course.
Note: You can also create a copy of another course by using the 'Make a Copy' option.